Friday, August 31, 2012

CTMH: September Stamp-of-the-Month Blog Hop

Welcome to another Stamp-of-the-Month Blog Hop!  If you came from Haley's blog, you're on the right track.  If you're starting here, just keep following the links in each post and you'll get back here.

It's September and maybe your kids are in school already, but we don't start until Tuesday.  My kids are super excited about going back, which makes me very happy.  But you can tell it's the end of the summer; they're having a hard time keeping occupied.  This month's stamp set is pretty fun and since my daughter loves colouring, I thought I'd ask her to help me out with a project this month.

Here is what the stamp set looks like:


Here is my daughter's card:


I'm not sure what colours she all used, but I love that she stamped her fall favourites in the inside.  I do know she used Autumn Terracotta for the fall title because it had the word Autumn in it.  :)

Here is my card: 


I wanted to make a simple card.  The burlap ribbon at the top was fun to work with.  I cut it in half and then pulled some of the fibers off before knotting it around the card.  It's a pretty loose tie, so I added a glue dot behind the knot.  

I just stamped the pumpkin image and the sentiment directly on the card base.  I couldn't use my new alcohol markers because of that, so I coloured them in with various colours of watercolour pencils and then went lightly over it with a water brush.  Here is a close up:


Just as I was finishing my post, my son, Nathaniel asked where his was.  He stamped on a piece of scrap paper and wants to share it, too.  So I ran upstairs to take a quick photo.  Here it is:


Love my kids.  :)

Now it's time to hop on over to Amy's blog and check out the fabulous artwork she's got for you.

Happy Creating!


Thursday, August 30, 2012

Retro Sketches: Part Two!

I can't believe I actually made two cards for one challenge!  I'm on a roll.

Here's the sketch from Retro Sketches again:


Here is the second card I made:


This card is made with all Close To My Heart products, except the bit of satin ribbon, which I think I bought at Michaels.  I used Cruisin' paper and an adorable new stamp set, that my kids just LOVE, called Outta This World.  My kids are really interested in the planets and space, along with machines and dinosaurs, so I wanted to make sure my planet was coloured properly.  I think I got it pretty close to Saturn, by inking in Honey, sponging with Cranberry and rolling in Slate.  The space ship is inked with Crystal Blue then rolled in Twilight.  The letters are our new Pixie Glitter alphabet and an "r" from a Webster's Pages sticker sheet.  The map shape was cut with my Art Philosophy cartridge.

What do you think?  Which one is your favourite?

I hope you're getting a chance to create just for the fun of it!  


It was a Retro Sketches Day!

I am in the last few days of summer vacation.  Here in Canada, for the most part, our school year doesn't start until Tuesday.  I have enjoyed the laid back, relaxed style of most of our days this summer, but to tell you the truth, I am SO VERY READY for my kids to go back to school.  They are starting to get on each other's last nerves.  And I haven't really had very much time to craft, which I mentioned in a previous post.  This past Sunday, I hid in my studio and crafted away while my husband was home.

I won a July Card Kit from Simon Says Stamps on my friend, Sarah's, blog.  I got it just before I left for convention and I finally cracked it open to play.


Doesn't it look fun!  I have been so busy creating for my business, it was incredibly nice to be able to just play for the sake of it.  I made a couple cards that were sort of copies from other people but then I turned to Retro Sketches for some ideas.

Here is the sketch:

And here is the first card I made:


All the paper and ribbon are from the Card kit.  The stamp, from Pun Fun, and red bling are from Close To My Heart.  I coloured in the rocking chair with Cranberry and Orange watercolour pencils.  The bracket shape was cut with my Artiste cartridge.

I'll post my second card in a new post.  Stay tuned!


Tuesday, August 21, 2012

Avonlea with Chocolate and Sorbet


Time to show you the other two cards I made for the Women's Retreat.  Both these card patterns are taken from our new Make It From Your Heart publication.


Here is the first one, where I added Chocolate to the Avonlea paper.


I love how this one turned out!  I used the Artiste Cricut Cartridge to cut the speech bubble. It looked a little too plain for my liking so I stamped a pattern on top in 3rd generation (stamp off 2 times before stamping on your image). To add a bit of bling, or maybe a lot of bling, I added the Shimmer Trim in 2 layers to the Chocolate strip.  I also added thick sponging to the pattern paper.

Here is the last card.  I really wanted a colour that would pop since this would be a birthday card.  I think Sorbet does it.  Thanks to Tresa Black for her colour confidence chart.


I sponged all the pieces in Slate before putting this card together.  I love the elegance of this banner stamp.  A few Bitty Sparkles finishes it off.

Supplies: 
Artiste Cricut Collection, including Word Balloons and Birthday stamp sets

I made all three of these cards fairly flat because I'm guessing that there may be some new stampers in my workshop.  I also wanted to make sure the cards would be fairly easy to mail.

Do you live near me?  Consider coming to the Retreat put on by my parents' church.  Click here to take a look at the brochure. 

Happy Creating!


Monday, August 20, 2012

Avonlea with Smokey Plum

Wow, life has been crazy lately!  Having my kids home for the summer has drastically shortened the amount of time I have to craft.  And although that makes me a bit sad to be honest, I really do enjoy the laid back pace of summer holidays.  But I'm gearing up for the exciting fall season and of course, crafting with new products.  My kids are actually gone right now, visiting Grandma, and coming home this evening so I'm trying to get as much time in my studio as I can today.

One of the things I've been working on this weekend is sample cards for a Women's Retreat I'll be attending and teaching at in September.  I'm going to spend the weekend with my mom and sister and sister-in-law, I think.  Can't wait!  The last time I attended this retreat was before Arianna was born.  I was pregnant with her, just didn't know it yet!  Since all those lovely ladies were here at my place on Saturday, I had them choose which paper to use and Avonlea was a unanimous decision.

Here is one of the cards I made:


Here's a close up of those little banners:


I didn't use any special techniques, just sponged everything in Slate.  I used the latest sketch from Freshly Made Sketches.

Supplies Used:

Come back tomorrow to see the other cards.

Happy Creating!

Sunday, August 5, 2012

CTMH: New Product Blog Hop!

We are super excited around Close To My Heart right now.  All the amazing new products we've been playing with, drooling over, and jumping up and down about are now available to you, our customers!  If you're coming from Kim's blog, you're on the right track.  If you're just starting here, this works the same as the SOTM hops, just keep going until you're back here.

I just got back yesterday from a week at Trent River Cottages, a beautiful little place right on the Trent River.  If you live in Ontario, Canada (and even if you don't) you need to consider visiting this little place. Yes, I'm doing some blatant advertising, and no, I'm not getting paid to say these things.  ;)  I created this layout while at the cottage and the beauty of it is that the photos that I will put on it I took just an hour before.  Perfect!  Here's my layout:


I had so much fun looking through the few supplies I had with me to create this layout, and to match it to my photos.  I knew it would be a challenge, only a few Workshop-on-the-Go kits and that yummy new Burlap ribbon to work with.  Here is a close up of each page and then I'll explain what I all used.


I went through a couple paper packets and chose papers that were all in the "brown" family, adding a pop of red. I know the neutral shades will really make my photos shine.  The top almost flowery piece is from Clementine and the others are from Scholastic. I also pulled cardstock from the paper packets as well.  The bases are our new Cashmere, the dark cardstock strips are Saddle and the title and journaling squares are Champagne.  The red cardstock is our new Ruby.

I followed a pattern from the new publication 
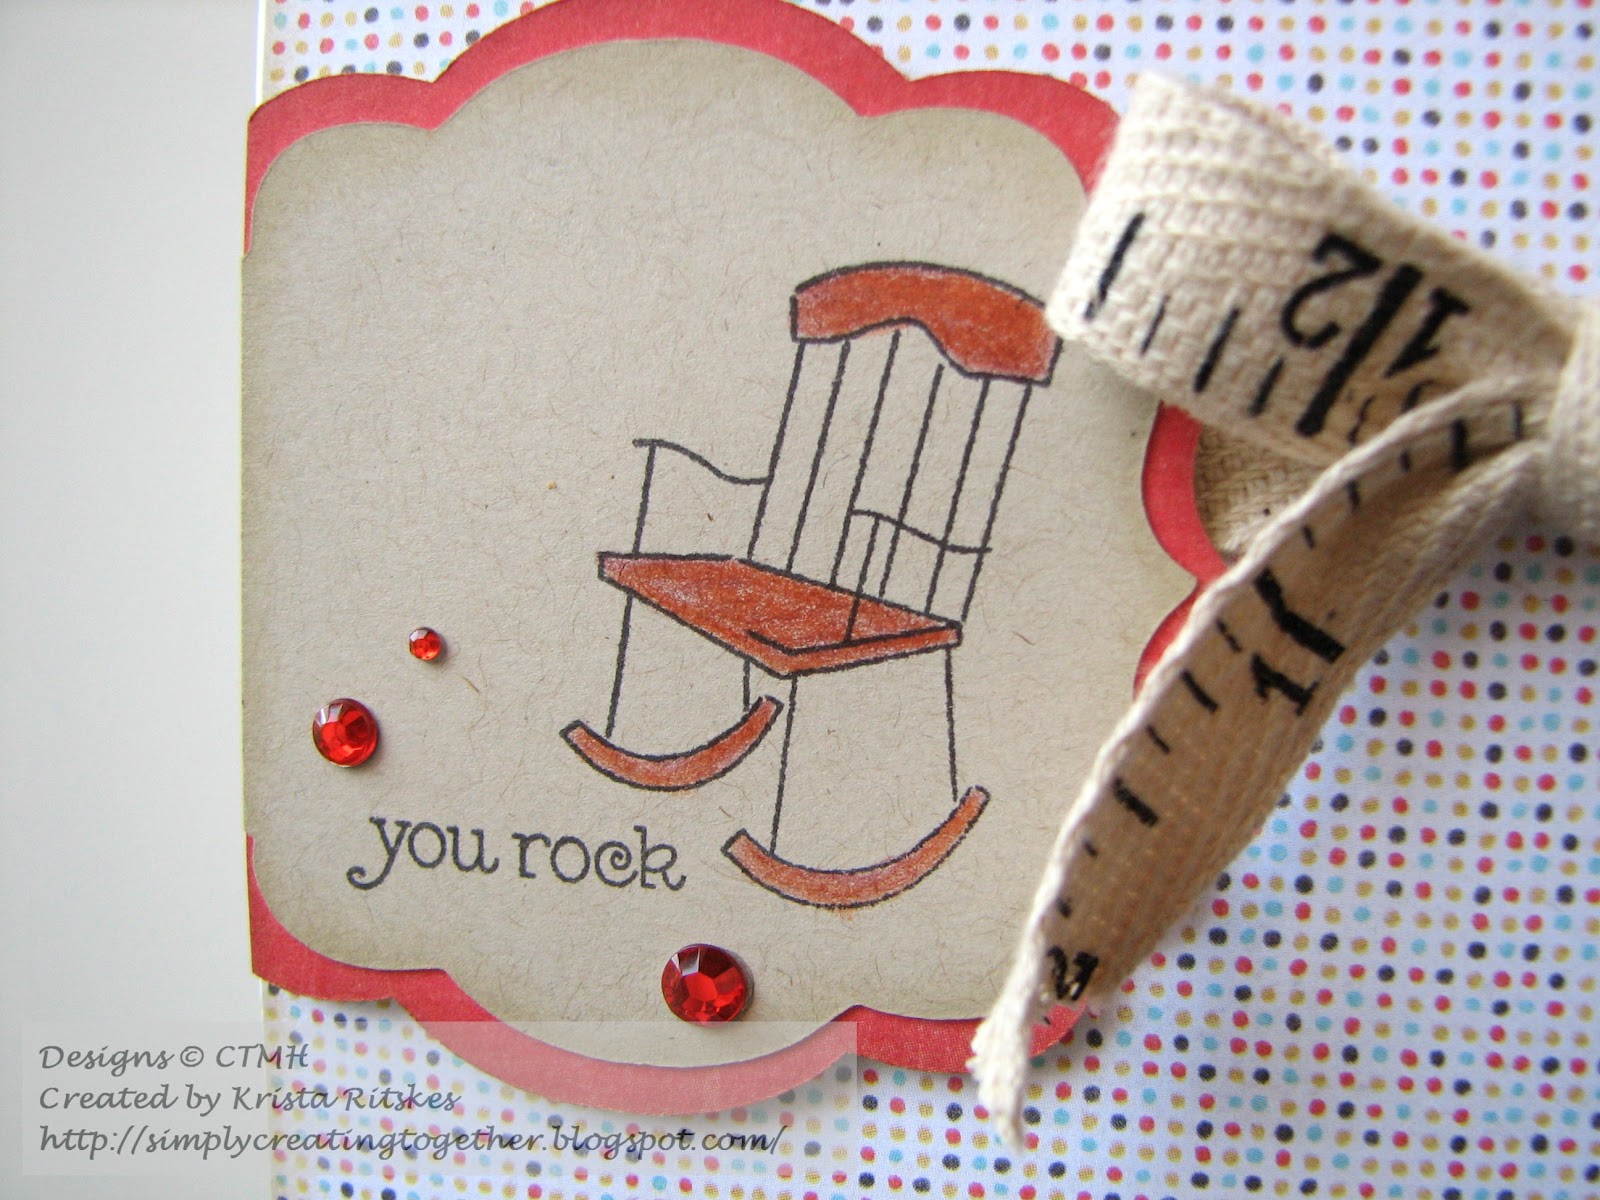
Make It From Your Heart to cut the paper.  Then I sanded the life out of every piece.  Those Colonial White pieces will be removed and replaced by my photos.  Haven't had a chance to get them printed yet since, as I said, we just got home yesterday.  I used the Clementine WOTG stamp set to stamp the 3 sentiments in Cocoa, and I think they work perfectly for my layout.  The title is stamped in Cocoa with the Trinity alphabet.

Here are a couple close ups of how I used the burlap ribbon.


I have to admit, this ribbon is one of my absolute favourite new products!  You might think that's a bit strange given things like the new Cricut cartridge and amazing paper and stamps, but it's true.  I've been looking at burlap ribbon for a while and thinking I needed to purchase some and just before I do, bam, there it is in our new line up!  I almost jumped out of my chair!  For this layout, I glued some to cardstock and then cut the three banner pieces.  For the ruffle, I actually cut it in half lengthwise because I just didn't have enough space at the bottom, especially since I didn't have my photos yet.  Initially, I had folded it in half and then attached it, but it was just too bulky, so I cut it instead.  I absolutely love how it looks and I can't wait to play with it some more!  I popped on some square Durables and I was done.

You can hop on over to Julia's blog to enjoy more new product artwork, but if you'd like to hang around and take a peek at the photos I'll be adding to this layout, just scroll down.  I love showing off my kids, after all.  :)


Thanks for sticking around to take a look.  Hop on over to Julia's blog and enjoy.

Happy Creating!